Use this file to discover all available pages before exploring further.
In this tutorial, you’ll learn how to build a custom LLM-as-a-Judge Evaluator tailored to your specific use case. While Arize AX provides several pre-built evaluators that have been tested against benchmark datasets, these may not always cover the nuances of your application.So how can you achieve the same level of rigor when your use case falls outside the scope of standard evaluators?We’ll walk through how to create your own benchmark dataset using a small set of human annotated examples. This dataset will allow you to build and refine a custom evaluator by revealing failure cases and guiding iteration.The diagram below provides an overview of the process we will follow in this walkthrough.
In this tutorial, we’ll ask an LLM to generate expense reports from receipt images provided as public URLs. Running the cells below will generate traces, which you can explore directly in Arize AX for annotation. We’ll use GPT-4o-mini, which supports image inputs.
Dataset Information: Jakob (2024). Receipt or Invoice Dataset. Roboflow Universe. CC BY 4.0. Available at: Roboflow Universe (accessed on 2025‑07‑29)
from openai import OpenAIclient = OpenAI()def extract_receipt_data(input): response = client.chat.completions.create( model="gpt-4o-mini", messages=[ { "role": "user", "content": [ {"type": "text", "text": "Analyze this receipt and return a brief summary for an expense report. Only include category of expense, total cost, and summary of items"}, { "type": "image_url", "image_url": { "url": input, }, }, ], } ], max_tokens=500, ) return response
By following the auto-instrumentation setup outlined in the notebook, running the cell below will automatically send traces to Arize AX.
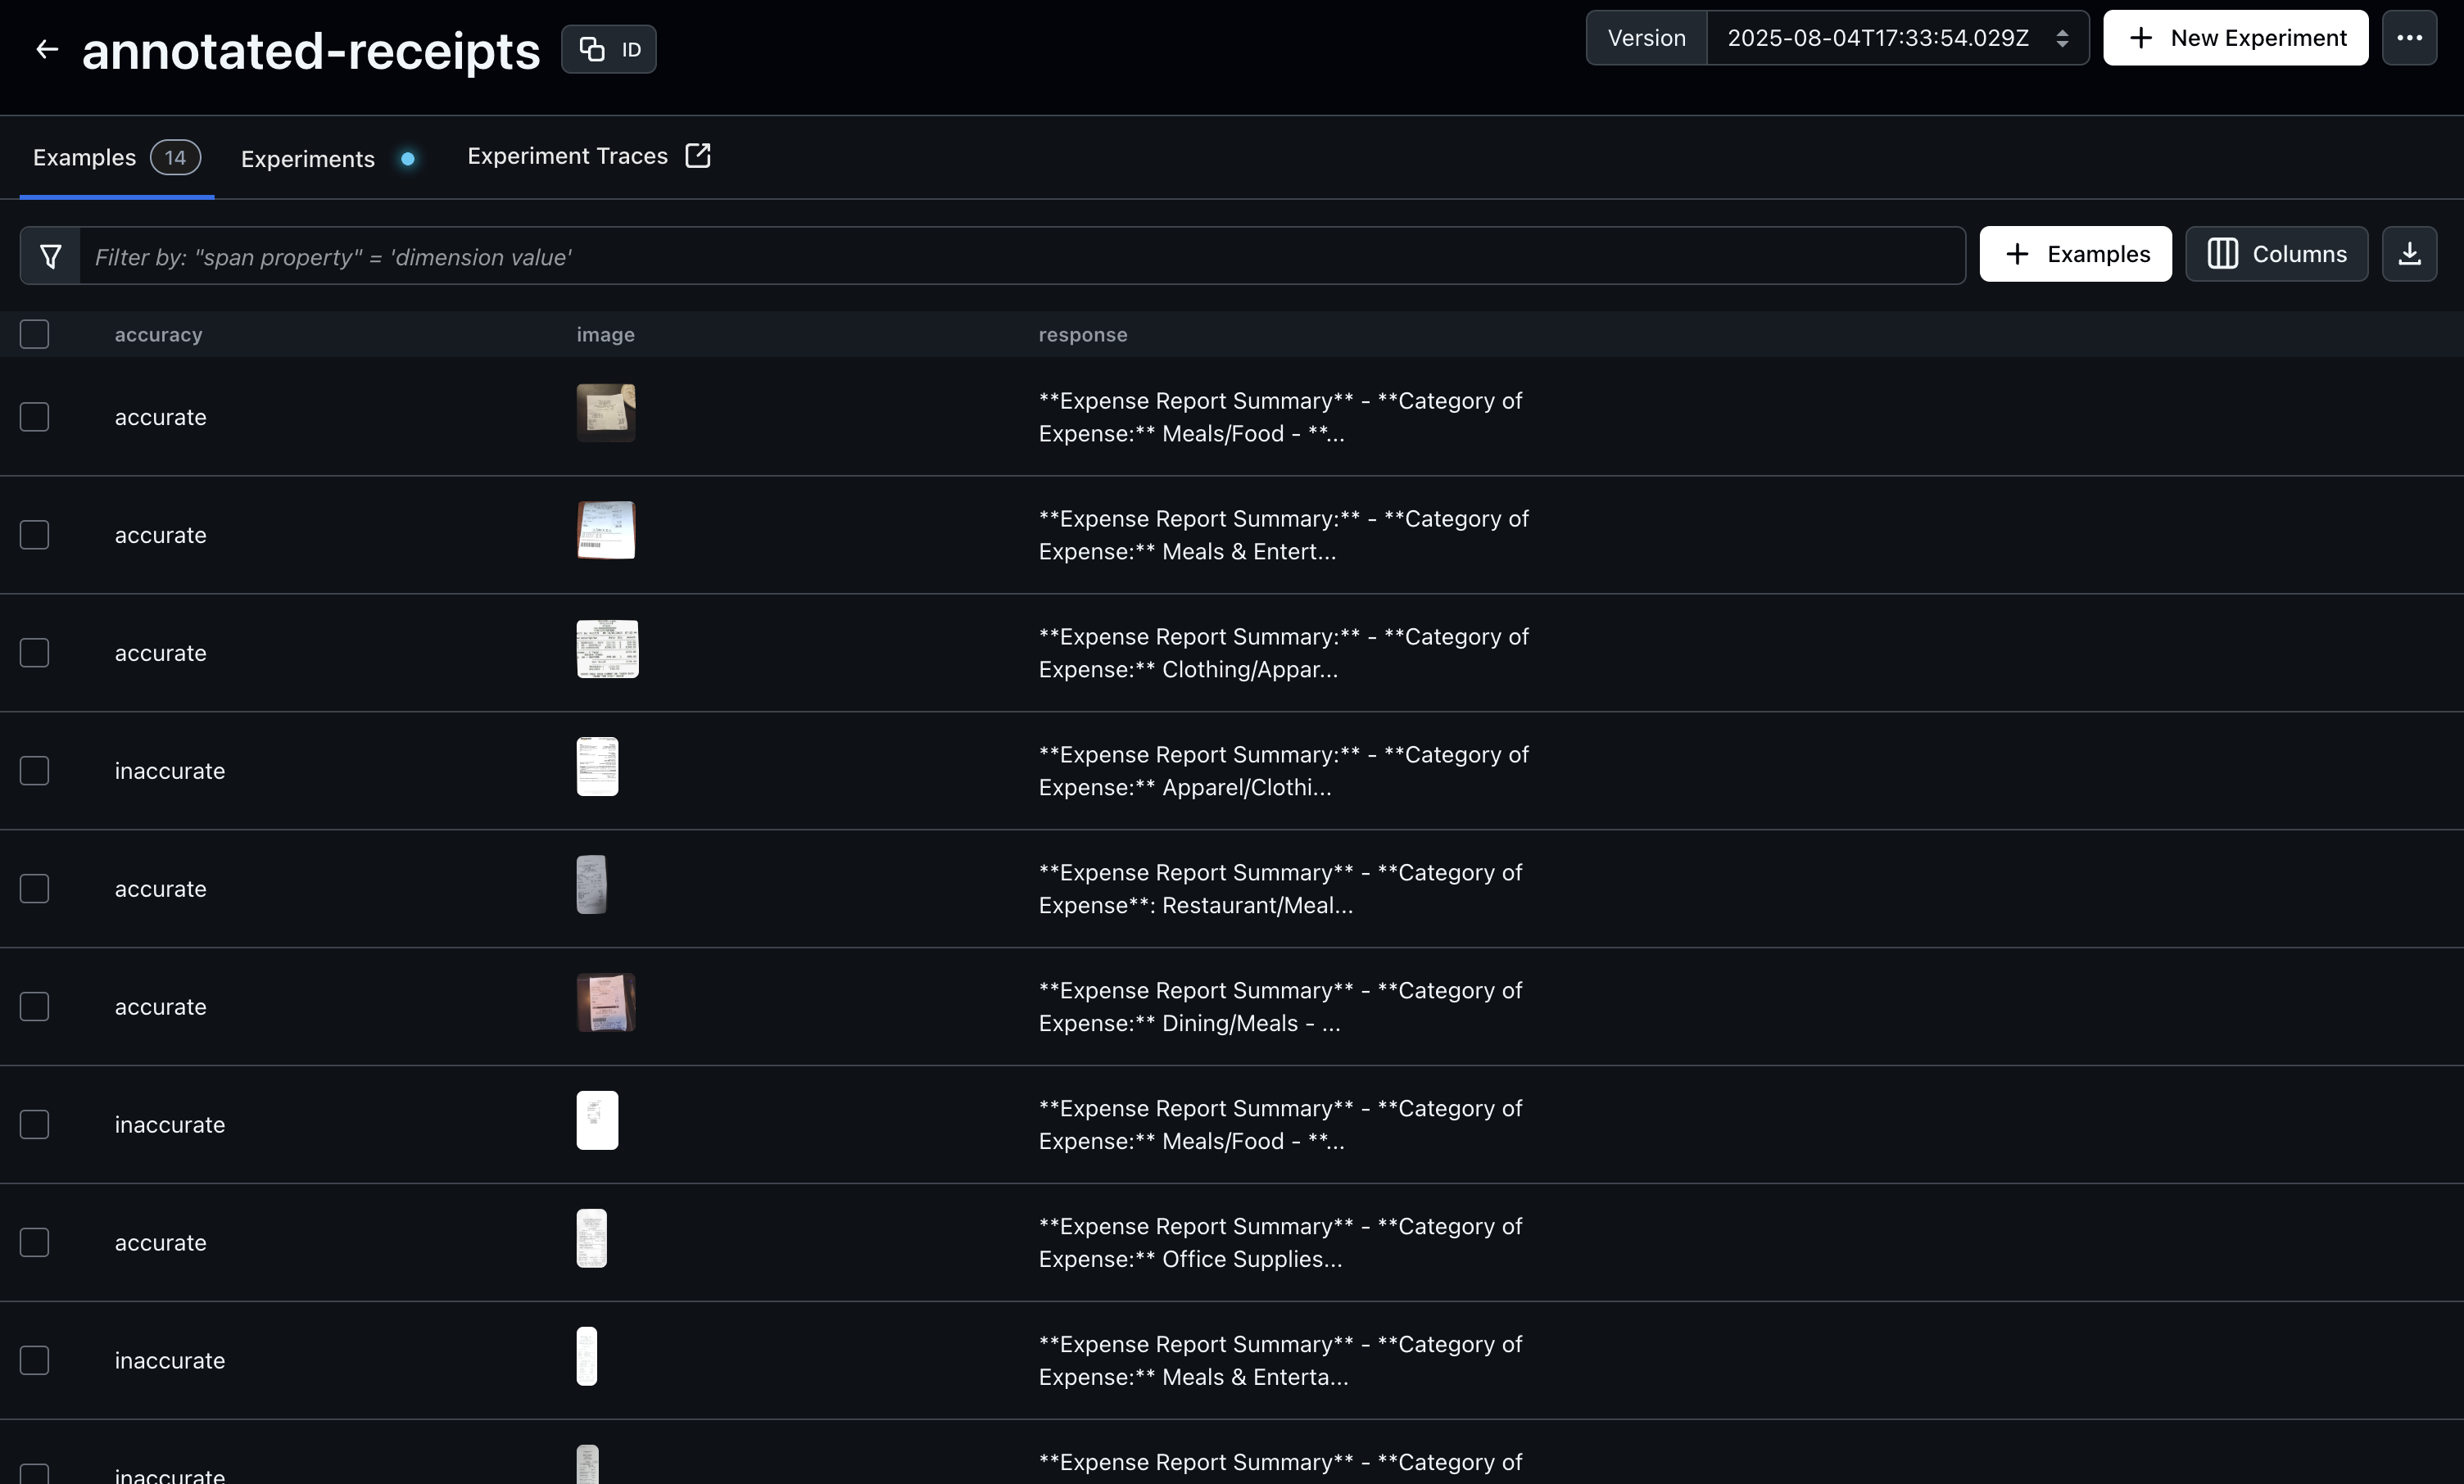
After generating traces, open Arize AX to begin annotating your dataset. In this example, we’ll annotate based on “accuracy”, but you can choose any evaluation criterion that fits your use case. Just be sure to update the query below to match the annotation key you’re using—this ensures the annotated examples are included in your benchmark dataset.
# Note: This example uses Python SDK v7from datetime import datetime, timedeltafrom arize.exporter import ArizeExportClientfrom arize.utils.types import Environmentsclient = ArizeExportClient(api_key = os.environ["API_KEY"])print('#### Exporting your primary dataset into a dataframe.')primary_df = client.export_model_to_df( space_id=os.environ["SPACE_ID"], model_id='receipt-classifications', environment=Environments.TRACING, start_time=datetime.now() - timedelta(days=50), end_time=datetime.now(),)
Next, we’ll create a baseline evaluation template and define both the task and the evaluation function. Once these are set up, we’ll run an experiment to compare the evaluator’s performance against our ground truth annotations. In this case, our task function is llm_classify and our evaluator is a comparison between the task output and our annotated labels.
from phoenix.evals.templates import ( ClassificationTemplate, PromptPartTemplate, PromptPartContentType,)rails = ["accurate", "almost accurate", "inaccurate"]classification_template = ClassificationTemplate( rails=rails, # Specify the valid output labels template=[ # Prompt part 1: Task description PromptPartTemplate( content_type=PromptPartContentType.TEXT, template=""" You are an evaluator tasked with assessing the quality of a model-generated expense report based on a receipt.Below is the model’s generated expense report and the input image:---MODEL OUTPUT (Expense Report): {output}---INPUT RECEIPT: """, ), # Prompt part 2: Insert the image data PromptPartTemplate( content_type=PromptPartContentType.IMAGE, template="{image}", # Placeholder for the image URL ), # Prompt part 3: Define the response format PromptPartTemplate( content_type=PromptPartContentType.TEXT, template=""" Evaluate the following three aspects and assign one of the following labels for each. Only include the label:- **"accurate"** – Fully correct- **"almost accurate"** – Mostly correct- **"inaccurate"** – Substantially wrong """, ), ],)
Next, we’ll refine our evaluation prompt template by adding more specific instructions to classification rules. We can add these rules based on gaps we saw in the previous iteration. This additional guidance helps improve accuracy and ensures the evaluator’s judgments better align with human expectations.
classification_template = ClassificationTemplate( rails=rails, # Specify the valid output labels template=[ # Prompt part 1: Task description PromptPartTemplate( content_type=PromptPartContentType.TEXT, template=""" You are an evaluator tasked with assessing the quality of a model-generated expense report based on a receipt.Below is the model’s generated expense report and the input image:---MODEL OUTPUT (Expense Report): {output}---INPUT RECEIPT: """, ), # Prompt part 2: Insert the audio data PromptPartTemplate( content_type=PromptPartContentType.IMAGE, template="{image}", # Placeholder for the image URL ), # Prompt part 3: Define the response format PromptPartTemplate( content_type=PromptPartContentType.TEXT, template=""" Evaluate the following and assign one of the following labels for each. Only include the label:- **"accurate"** – Total price, itemized list, and expense category are all accurate. All three must be correct to get this label.- **"almost accurate"** – Mostly correct but with small issues. For example, expense category is too vague.- **"inaccurate"** – Substantially wrong or missing information. For example, incorrect total price. """, ), ],)
Once your evaluator reaches a performance level you’re satisfied with, it’s ready for use. The target score will depend on your benchmark dataset and specific use case. You can define different thresholds and metrics you hope the evaluator to achieve.That said, you can continue applying the techniques from this tutorial to refine and iterate until the evaluator meets your desired level of quality.